Outdoor Outlet Protective Box

Protective+box+for+an+outdoor+electrical+outlet.3mf
122KB
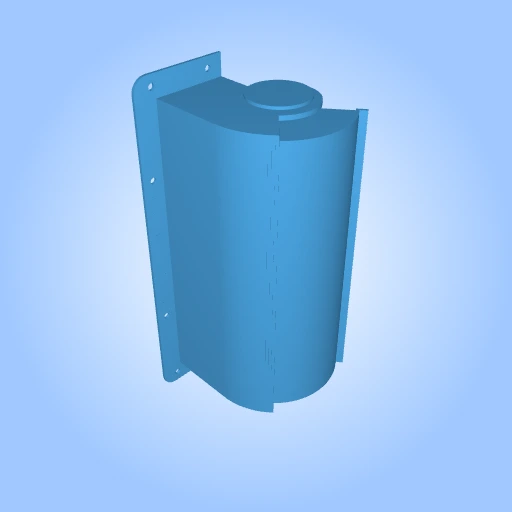
Protective+box+for+an+outdoor+electrical+outlet.stl
370KB
Outdoor Outlet Protective Box by FixItDale is licensed under the
CC-AttributionLicense

By downloading, you agree to MakerTouch's Terms of Service and Privacy Policy.
- Description
- Build Instruction
Size: Large (more than 10cm)
I got tired of outdoor outlets that were “weather resistant” on the label and still full of spider webs, pollen, and the occasional surprise drip after a storm. The little spring flaps on the receptacle help, but they are not a real hood — and I wanted something I could print, mount, and forget.
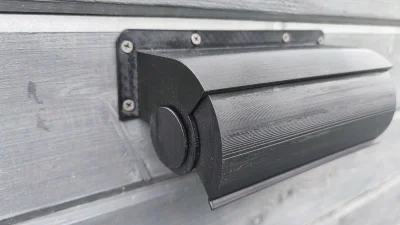
This is a print-in-place hinged protective box for a standard double outdoor outlet. The whole cover comes off the bed as one piece: mounting plate, hood, and working hinges already together. Flip the lid up when you need power for the string lights, the pressure washer, or the patio projector; drop it shut when you are done. No screws to assemble the hinge, no lost pins.
Here is why this stuck with me: outdoor power should feel boring and reliable. A clean black hood over the grey weather covers looks intentional on the wall, keeps direct rain and sun off the faces, and still lets you get to both outlets in one motion. It is a Saturday-morning print that solves a problem you only notice when guests are standing outside waiting for an extension cord.
Print notes that matter: prefer PETG for real outdoor duty — UV and temperature swings are kinder to it than basic PLA. After the print finishes, gently free the hinge if it is still a little stiff from bridging (a small twist or a thin blade in the gap is usually enough). Mount with four screws through the plate, check the lid swings clear of the outlet flaps, and you are done. Sized Large for a typical double outdoor box.
Print it once, mount it once, stop thinking about wet outlets.
The maker remixed this product from:
License

Outdoor Outlet Protective Box by FixItDale is licensed under the
CC-Attribution• Print as one piece in PETG (preferred for outdoors), flat on the bed. Use the Large size for a standard double outdoor outlet.
• Free the hinge. After cooling, gently work the lid until the print-in-place hinge swings freely. A thin blade can break residual bridges if needed.
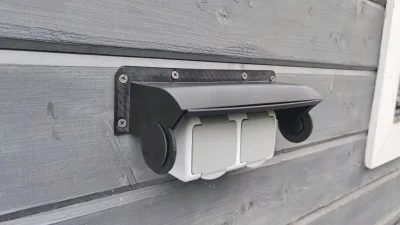
• Dry-fit on the wall. Hold the open hood over your outdoor double outlet and confirm both receptacles clear the lid and side walls.
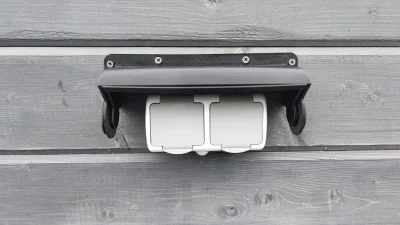
• Mount it. Mark the four screw holes, drill if needed, and fasten the plate to the wall or weather box. Do not overtighten into plastic.
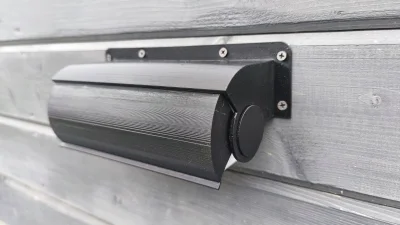
• Check the swing. Open and close the lid with plugs inserted to make sure cords clear the hood edge.
• Done. Leave it shut between uses — rain, sun, and curious insects stay mostly on the outside.


Add a commentComments