Receipt Window
- 0
- 0
- 12

d25f81ca8963cf5232e42434bb0d51b7.3mf
377KB
1bc80c04a7ad57ca3229543901d4344e.stl
387KB

4675073f1998dc2515c85d01c390ceb8.stl
924KB
Receipt Window by miran is licensed under the
Standard Digital LicenseLicense

By downloading, you agree to MakerTouch's Terms of Service and Privacy Policy.
- Description
- Build Instruction
- More Details
Size: Large (more than 10cm)
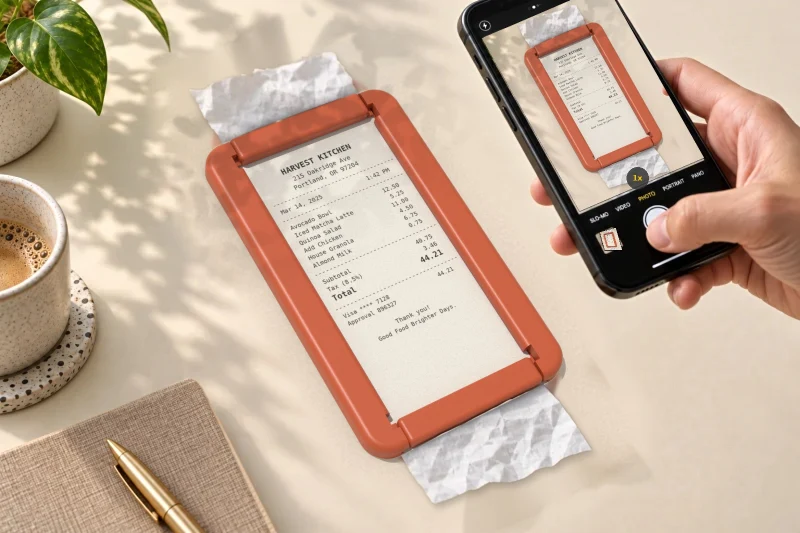
Receipt Window – flat-lock frame for thermal receipts
You know the receipt. The one you need for the expense report, or the warranty on the blender that died in month eleven. You pull it out of your wallet and it rolls itself back up like a tiny scroll. You pin one end with a thumb, the other end with your phone, and the photo still comes out bent and shadowed, and the totals are lost in a curve.
I got tired of fighting paper, so I made a frame that does the fighting for me.
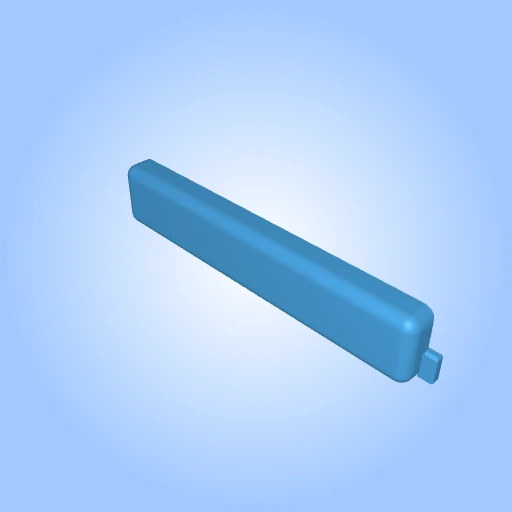
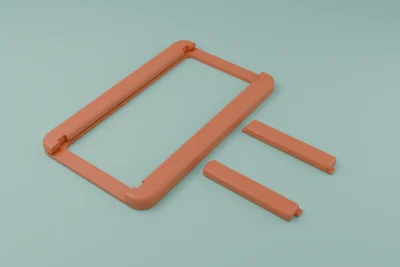
Receipt Window is three printed parts: one frame and two identical wedge clamps. Slide the receipt into the side channels, drop a clamp in at each end and push it outward. The wedge locks itself and pulls the paper tight, so the curl just gives up. What's left is a flat, evenly lit receipt inside a clean orange border. Snap a photo, run it through your scanning app, and the text is straight and readable on the first try.
No glue, no tape and no clips. The clamps only grip the very ends of the paper, so nothing gets stuck to your receipt. When you're done, pull the clamps back and the receipt slides out with no damage. It's ready for the next one.
It takes a few minutes to use the first time and seconds after that, and lives happily in a desk drawer next to the stapler you never use.
Specs
• Size: 109 × 180 × 10.5 mm
• Fits standard 80 mm thermal receipts
• Parts: 1 × frame, 2 × end clamp (print the clamp file twice)
• Tool-free assembly; wedge clamps self-lock and tension the paper
• Reusable; the receipt comes out undamaged
Print: SLA recommended. FDM not recommended (unsupported bridges inside the 1.3 mm receipt slot). Print 2 end clamps.
License
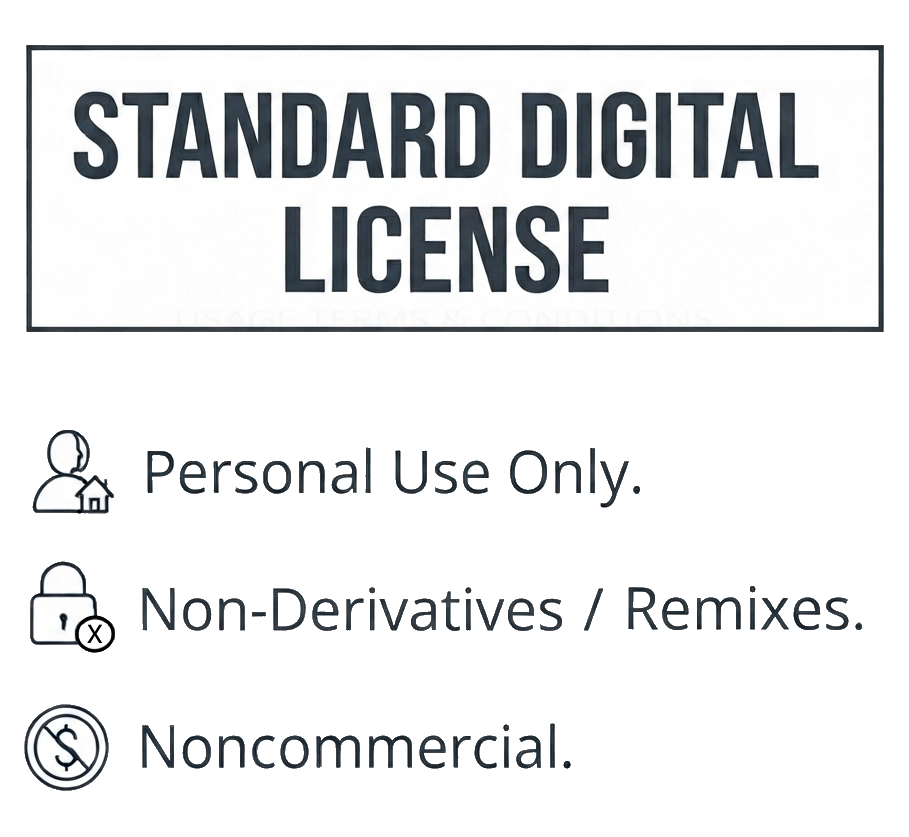
Receipt Window by miran is licensed under the Standard Digital License
License change history
- CC-Attribution - Noncommercial -> Standard Digital License (2026-10-17 21:33)
See it in action:
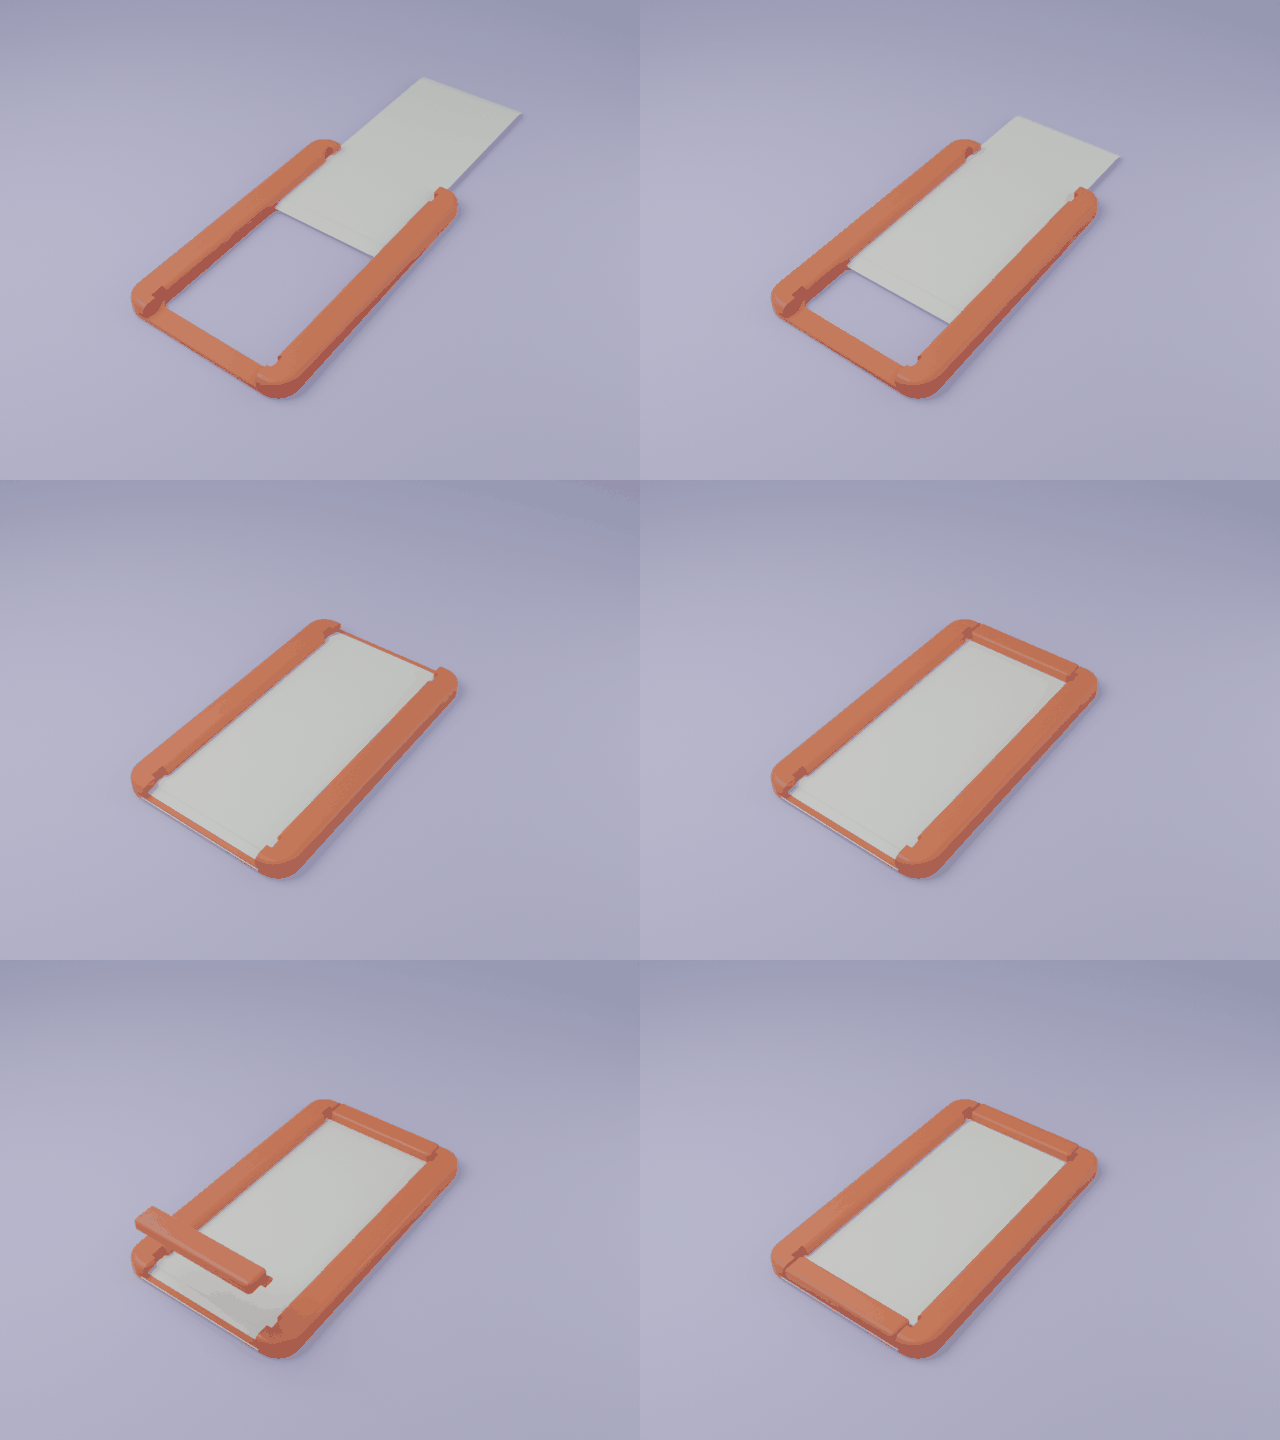
Step 1 – Print the parts.
Print one frame and two end clamps. The clamp file is a single clamp, so print it twice. Any PLA or PETG works, and a bright color makes the photos pop.
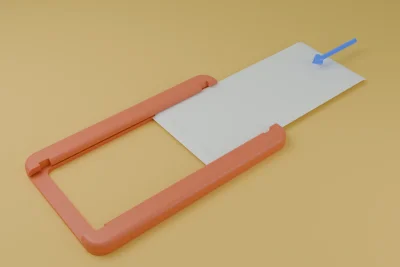
Step 2 – Slide in the receipt.
Hold the receipt printed side up and feed it into the channels along the inside of the long sides. It should glide in without force. Don't worry about the curl yet, the clamps will deal with it.
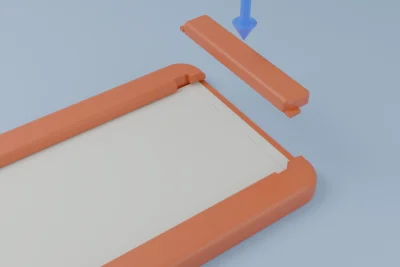
Step 3 – Drop in the first clamp.
Center the receipt, then drop one wedge clamp straight down into the open slot at one end, on top of the paper. It sits loosely for now, and that's expected.
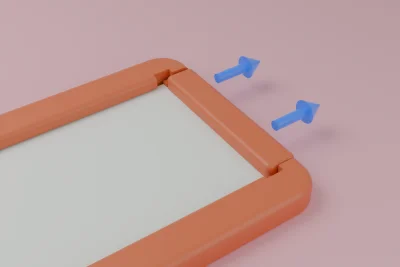
Step 4 – Push it outward to lock.
Press the clamp toward the outer edge of the frame. The wedge rides up, locks in place and grips the end of the receipt. You'll feel the paper go tight under your fingers.
Step 5 – Second clamp, and you're done.
Repeat at the other end: drop in the clamp and push it outward. The two clamps pull against each other and the receipt lies dead flat. Take your photo or scan, file the expense, and keep the warranty.
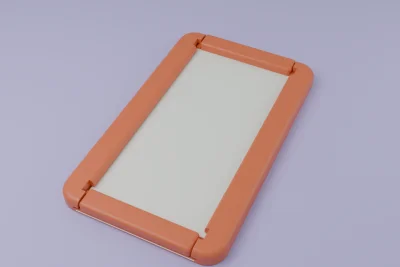
 Dimensions: 109mm × 180mm
 Printer type: SLA


Add a commentComments